Decorative rocks or gravel add visual appeal to your landscape design. But rocky soil in your yard or garden can create many issues. Rocks in the soil block plant roots from reaching water and nutrient sources. This makes the soil harder over time and deprives the plants of growing space. Rocks can also pose a safety issue while mowing the lawn, by either damaging the equipment or causing injury if a rock gets thrown by the mower.
When it comes to picking up rocks in the yard, there’s no getting away from some manual labor — unless you hire someone to do it for you. But even if you’re going it alone, it doesn’t have to be a daunting task. Whether you’re removing gravel from the soil or digging out a meddlesome boulder, our tips will help keep your project from gathering moss. Let’s start with the most common rock-related issues that homeowners face — getting rid of rock mulch.
Getting Rid of Unwanted Rock Mulch
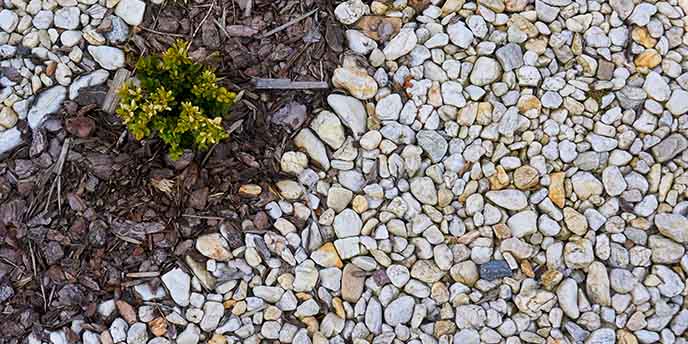
It happens — you move into the perfect house, but the flower beds are full of rock mulch, landscape rocks, or gravel. Sure, you could probably plant something in there, but flowering plants likely won’t thrive. Or maybe you need to dig deeper and remove some gravel from the soil.
Don’t let rocks hold you back from having the backyard of your dreams. Follow these steps to clear away those annoyances.
Tools to Remove Rock Mulch:
- Rock-screening rake or bow rake
- Pointed shovel
- Dirt sifter or rock-sifting shovel
- Wheelbarrow
How to Remove Rock Mulch
If Rock Mulch Is Sitting on the Surface
Use a rock-screening rake or a bow rake to rake it into a pile. Both have metal tines that will gather the rocks while letting soil sift through, making them perfect for landscape rock removal. A typical garden rake can also work for this job, though it might not be as sturdy as a rock-screening rake or bow rake.
Use your shovel to scoop the rock piles into your wheelbarrow. Repeat the rake and shovel process until the ground is clear of rocks.
If Rock Mulch Is on Landscaping Fabric
The previous homeowner may have used a geotextile cloth underneath the rock mulch to keep weeds in check. If that’s the case, you’re in luck — this makes it easier to pick up rocks in the yard. Simply lift the cloth to remove rocks in large quantities all at once.
If Rock Mulch Has Worked into the Ground
For rocks that worked their way into the soil, use your pointed shovel to dig and move loads of dirt into a hand-held soil sifter or soil sieve. Hold and shake the sifter over the garden to let the dirt fall back in, removing the rock mulch from the soil and trapping it inside the sieve. A rock-sifting shovel works the same way.
The Easiest Way to Remove Rocks From Soil
Nothing inspires certain four-letter words like striking a rock with your shovel while digging in the garden. And it always seems that no sooner than you dig up that one, you find another, and another and another…
Fortunately, there’s an easier method than trying to dig them out one by one.
Soil Rock Removal Tools You May Need:
- Landscape rake/bow rake
- Digging fork
- Rototiller
- Hand trowel shovel
- Dirt sifter or rock-sifting shovel
- Pointed shovel
- Wheelbarrow
How to Get Rid of Rocks in Your Soil
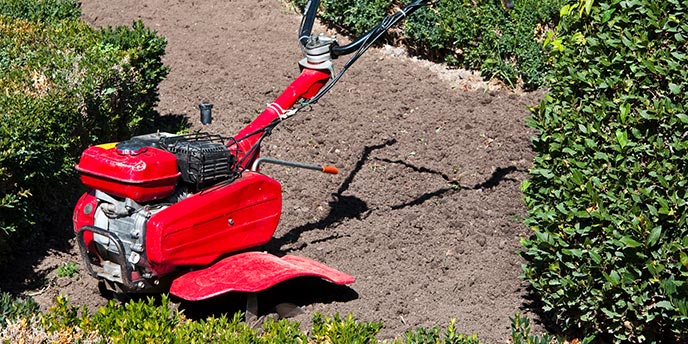
For rocks embedded in the soil, whether they’re small or baseball-sized, start by using a rototiller to break up the soil. Move slowly and avoid any rocks larger than a baseball. Stop to remove these rocks and larger ones as you till.
Suzie Jones, co-owner of Jones Family Farm in Herkimer, NY, cautions homeowners to be careful when using a rototiller to remove rocks from the soil. She recommends starting at a shallow depth and going over the ground several times, increasing the tiller’s depth on each pass.
“I’m a big fan of hiring out a particularly arduous tilling job. Rocks can get stuck in your tines, potentially damaging your gearbox. The machine can really buck and jump around, making it difficult to control. If you choose to DIY, slow and steady wins the race.”
Suzie Jones, Co-Owner | Jones Family Farm
After you’ve gotten the larger rocks out of the way, rake through the loose soil to separate rocks from the dirt. Rake any smaller rocks into a pile and scoop them into your rock sifter. Shake the sifter to let the loose dirt fall back into the tilled area, then dump the rocks into your wheelbarrow.
If you don’t have a rototiller or don’t feel like renting one — about $100 to $250 per day on average — you can always use a digging fork to loosen up the soil. The tines will help grab some of the larger rocks while you dig. For rocks embedded in the soil, use your hand trowel to dig around them until you can work them free.
Rent a Tractor and Plow for Large Yards
For farmers across the U.S., rocks are the No. 1 crop. As such, the chief pain point among them is equipment damage. Particularly the million-dollar combines they run through their fields.
“When that thing hits a rock and stops your operation, it’s a really big deal,” says Trevor Thompson, president of TerraClear Inc. Picking up rocks is an annual chore for most farmers. Companies like TerraClear are trying to make it easier with AI mapping solutions installed in tractors, he says.
While you probably won’t need something that industrial, the right equipment can help you dig deeper into the soil to remove any nuisance rocks. If you have a big yard or an area where rocks are heavily concentrated, consider renting a tractor with a front loader, plow and sifter to remove rocks from the soil. This is ideal if you’re getting a large area ready for gardening.
If it’s your first time using a tractor for rock removal, talk with the equipment dealer or rental company about your project and be honest about your experience or comfort level, Jones says. They will offer tips on how to use everything. Once you have the equipment on-site, practice basic driving maneuvers on a dry, level surface until you’re comfortable with the machine, she says.
“Follow all safety precautions indicated by the manufacturer or leasing company, including using seat belts and wearing protective earplugs. Be particularly mindful of slopes or hillsides that can be treacherous.”
Suzie Jones, Co-Owner | Jones Family Farm
Attach the plow to the back of the tractor and pull it through the area in question. The plow blade digs down as you go, loosening up the topsoil. Use the front loader bucket to scoop up the soil, then use your sifter to separate the rocks from the dirt. Spread the sifted soil back over the area that you plowed and even it out using a garden rake.
Pro Tip: Prepping a vegetable or flower garden for planting? You’ll want to go down 10 to 12 inches below the surface when removing rocks from the soil.
Digging Up Large Rocks for Removal
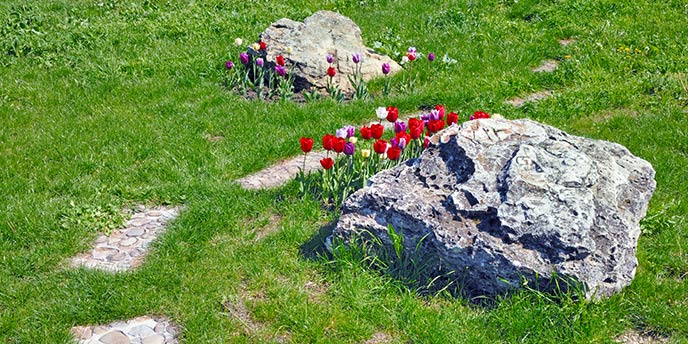
Rocks the size of a football or larger will take a little more work to remove. Fortunately, you can usually get the job done with some simple hand tools. We recommend calling in a pro to take out anything too heavy to carry. But if you’re dead set on doing it yourself, read on for some helpful tips.
Tools for Large Rock Removal:
- Pointed shovel
- Landscaping pry bar/digging bar
- Hand trowel shovel
- Wheelbarrow
- Rotary hammer with 1/2″ masonry bit
- 3 lb. sledgehammer
- Feathers and wedges (set of five)
- Backhoe/Bobcat rental
How to Remove Large Rocks From the Ground
Start by digging around the rock with your shovel to see how deep it goes. Continue digging until you’ve uncovered the whole rock. Make sure to loosen the soil surrounding it as much as possible so the rock is easier to lift. The more dirt you dig away from the rock, the easier it will be to move.
Using your shovel or a pry bar as a lever, work your way under the rock and lift it free. Ask for help when you need to remove a large rock from the ground, as it can get heavy and strain your back and knees. With the help of at least one other person, lift the rock into the wheelbarrow and push it away from the area.
If you have a boulder that’s just too large to move, you have a few options to get it out of your yard.
Roll It
If you’ve got level terrain, use your pry bar and a 6×6” scrap piece of wood as a fulcrum to roll the rock a step at a time. This is the simplest, and slowest, method of getting that rock to your roll off dumpster.
Break It Apart
Using wedges and feathers (aka shims) to break up large rocks is something any home DIYer can handle. The idea is to insert the wedges and feathers into pre-drilled holes in the boulder and apply enough pressure to crack the rock a piece at a time, making it easier to manage. A set of five (five wedges and 10 feathers) is usually enough.
How to Break Up a Large Rock by Hand
- Put on your safety glasses and fit your rotary hammer with a 1/2″ masonry bit.
- Drill a series of holes in a line about 5 inches from the end of the rock. Use an anchor blow-out bulb to get as much drilling dust out of the hole as possible.
- Insert two feathers with a wedge in between down into the hole with the feathers pointing out toward the edge of the rock.
- Tap the wedge lightly with your 3 lb. sledgehammer and move on to the next hole. Repeat this process until the wedges and feathers fit snugly in each pre-drilled hole.
- Go back to the first hole and hammer down until the wedge is firmly settled and the hammer strikes sound solid. Work your way back down the line, making strong hammer strikes.
- As the rock starts to crack, keep repeating the process by starting with the first hole and working your way back down until the wedges are practically flush with the surface of the rock.
- By now, you should see a clear crack along the rock. Use your pry bar to separate that first piece and carry it away to your wheelbarrow.
- Keep going with this process until you’ve broken up the boulder enough to remove all pieces completely.
Use Heavy Machinery
Skid steer loaders have the power and the attachments to make short work of landscape rock removal. A rock bucket attachment is great for digging out multiple rocks while a backhoe attachment can be a timesaver when removing a large rock from the ground. Be ready to spend anywhere from $200 to $500 on average for a daily rental.
Also, make sure you have a clear pathway for the loader to get through to your digging area. If your boulder is in your fenced-in backyard, be ready to remove some of that fencing.

Tips for Safe and Efficient Rock Removal
The tools and techniques you use to get rid of rocks in your yard will vary depending on the size of the rocks in question. As with anything, the best way to remove rocks from your yard should minimize strain on your body and reduce the risk of injury.
If you have a large yard or garden, work in small sections at a time and reward yourself with a break between each section, Jones says. Promise yourself to keep picking up rocks in the yard until you’re done.
Be sure to dress for the occasion and wear appropriate safety gear for your task. Long pants and work gloves are ideal for any work involving rock removal. If you’re using power tools, be sure to wear eye and ear protection. Sturdy steel-toe work boots provide great foot protection when digging or carrying rocks.
“There are precautions to take when picking up a rock by hand. One rock that looks the same as another can be a very different weight.”
Trevor Thompson, President | TerraClear Inc.
When Should I Call a Professional?
If the rocks are too big for you to handle, or you aren’t capable of picking up rocks in your yard — or if you just don’t want to — you can always hire a landscaping company to do it. Costs vary depending on the equipment they use, but expect to pay $85 to $125 per hour on average, reports LawnLove.com. To remove a large rock from the ground, some professionals may charge $50 to $200 per cubic yard.
“It can be very hard to know when you’ve been beat. Maybe you’ve hit a ledge instead of just a boulder? Maybe your rented or newly purchased equipment is undersized for the job? There is no shame in calling a pro to help you assess the issue. Just remember, your goal is to move your project forward.”
Suzie Jones, Co-Owner | Jones Family Farm
Creative Things to Do With Rocks in Your Yard
Now you know how to get rid of rocks in your yard, but where should they go once you’ve gotten them out? Here are a few ideas on how to repurpose them for projects around the yard, or to dispose of rocks for good.
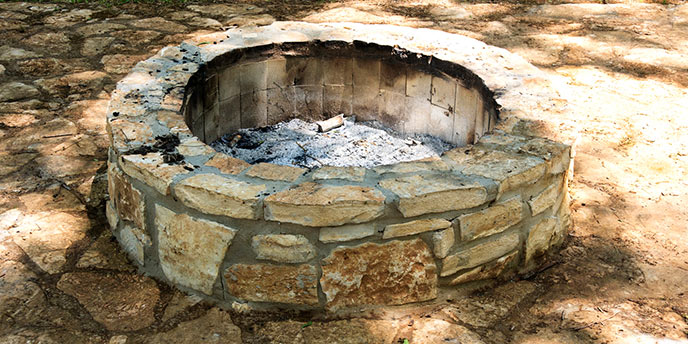
Create a Fire Pit
Dig some monsters out of your yard? Build a backyard fire pit with some of the flatter stones you’ve found. You’ll also need some gravel, mortar and/or fast-set concrete and a fire pit ring. Depending on the size and type of fire pit you want, you can save good money using the stones from your yard. Field stones can cost anywhere from $350 to $3,000 for this type of project.
On average, installing a fire pit yourself may cost $150 to $300, depending on what materials and tools you already have. That compares to the $250 to $2,200 it would cost for a professional to do it.

Build a Dry-Stacked Rock Garden Wall
A decorative rock garden wall can be a nice addition to edge your raised flower beds. And using rocks from your yard can save you money. The average cost of stone per square foot for a wall runs from $15 to $95.
Putting in a dry-stacked wall means you won’t need any mortar, but you’ll need to do some basic landscaping to ensure the rocks stay in place. Note that a wall taller than two feet may require a permit from your municipality.
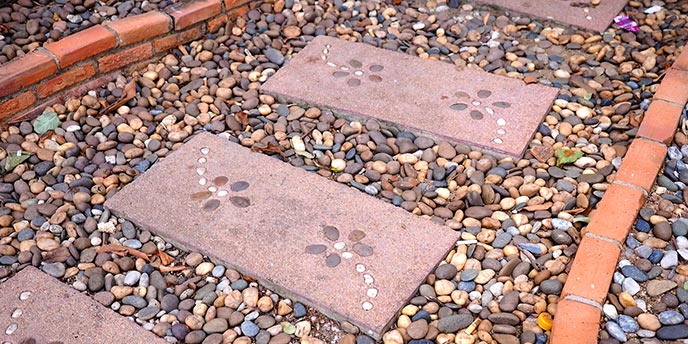
Add a Garden Walkway
For a more elegant look without the expense, design a walkway that’s (literally) a natural fit with your garden. Whether you’re looking for a gravel path or stepping stones from larger rocks, this project takes only a day or two and will leave a lasting impact on your curb appeal.
The average cost to install a 35’x4’ gravel walkway yourself is about $595. That includes about $325 for 140 square feet of gravel — a cost you can reduce by repurposing gravel you’ve already dug up.
Simple Ways to Get Rid of Rocks in the Yard
After you’ve picked up the rocks in your yard, we understand if you just want to get them out of sight for good. Here are a few ideas.
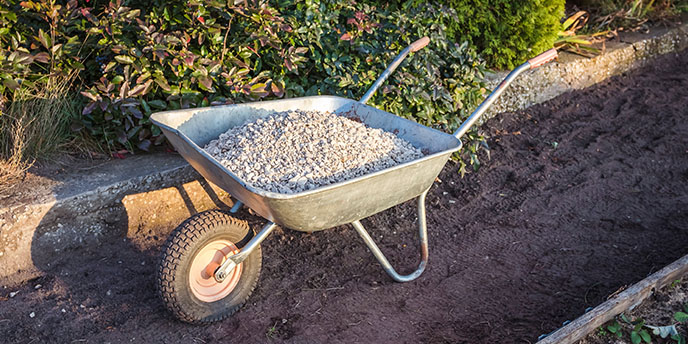
- Renting a roll off dumpster is a great way to get rid of a lot of debris without hauling heavy pickup truck loads to the dump. If you decide to dump them yourself, know that you’ll be charged for each trip you make to the landfill.
- Landscapers and contractors might want your leftover rocks, so consider taking out an ad online or in a local newspaper.
- Let your neighbors or passersby take them off your hands. Offer them for free by leaving them at the end of your driveway with a “Free” sign. You can always hire a junk removal company to take what’s left for a fee.
- Call local recycling centers or nonprofit resales stores, like Habitat for Humanity ReStore, to see if they take rocks. These organizations can put them back into use in the community.
Learn more about how to dispose of rocks with our in-depth guide.
Tackle Your Next Landscaping Project
You’ve finished your rock removal project and now have a nice, rock-free canvas to work with. It’s time to make your landscape masterpiece. Find some inspiration with these DIY garden and landscaping guides.
